

How to Improve Grainy Photo Resolution in 2026
Sep 15th 2026
Table of Contents
- Why Your Photos Look Grainy and How Resolution Fits In
- Camera Settings That Prevent Grain Before You Shoot
- How to Reduce Image Noise in Lightroom
- Finding the Best AI Photo Enhancer for Printing
- AI Upscaling vs. Traditional Noise Reduction: What Works Better
- Preparing Photos for 3D Laser Engraving
- Mobile Workflows and Batch Processing for Large Photo Sets
- Conclusion
- Frequently Asked Questions
Last Updated: September 13, 2026
Why Your Photos Look Grainy and How Resolution Fits In
Grainy photo resolution is the visible breakup of an image caused by image noise, and it shows up most often in low-light shots, old scans, and phone photos pushed past their sensor's comfort zone. This guide from Crystal Prints covers both sides of the fix: preventing grain at capture and removing it in post.
Here's the core idea most guides bury: grain and resolution are two different problems.
Grain is noise, the speckled luminance and color artifacts your sensor records when it doesn't get enough light. Resolution is the amount of real detail your file holds. A high-resolution photo can still be noisy, and a clean, low-resolution photo can still look soft when enlarged.
That distinction matters more than ever now that AI upscaling tools can double a file's pixel dimensions in seconds. Upscaling adds pixels. It doesn't always add truth. We'll show you how to tell the difference, what camera settings prevent grain, and how to prepare a file that survives enlargement, printing, or 3D laser engraving.
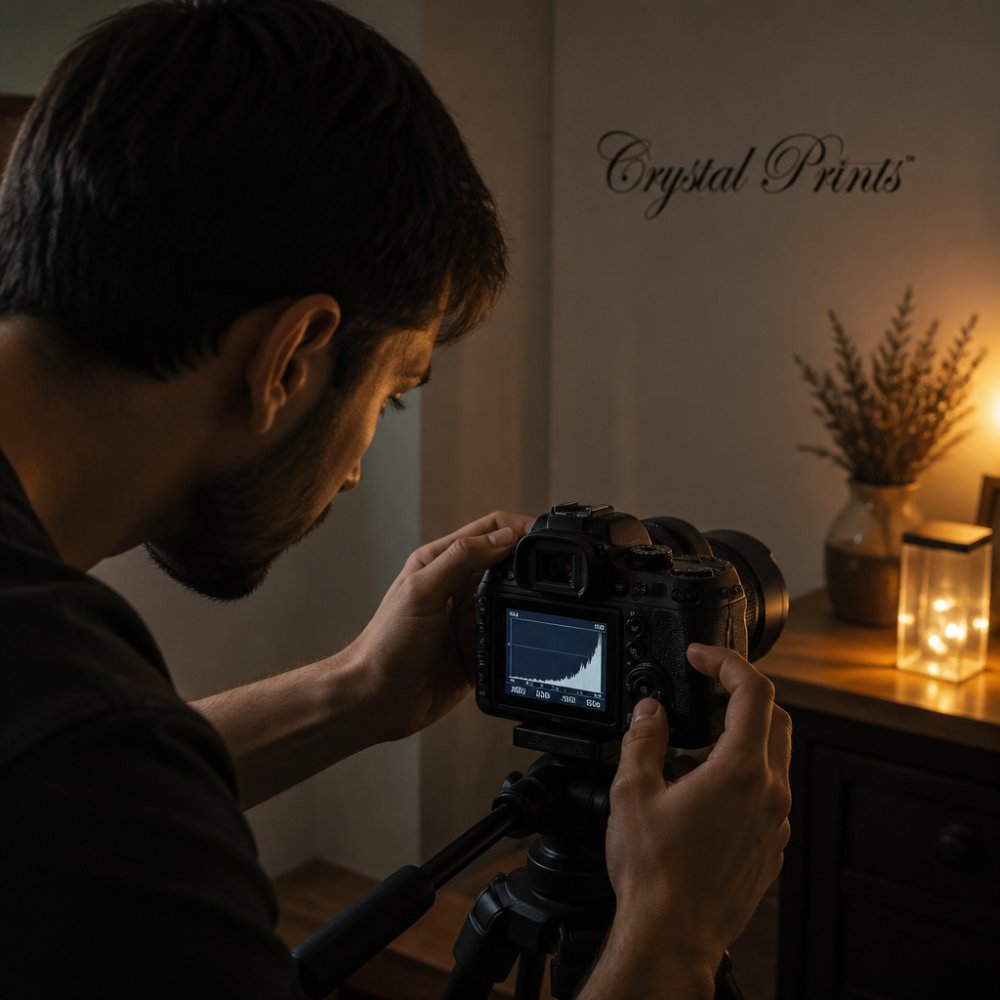
Camera Settings That Prevent Grain Before You Shoot
The single most effective way to improve a grainy photo is to never create the grain. Every stop of ISO you avoid is noise you don't have to remove later.
Start with these three settings, in this order:
- Keep ISO as low as your scene allows. ISO sensitivity amplifies the signal from your image sensor, and it amplifies the noise along with it.
- Open your aperture to let in more light before you raise ISO. A wider aperture also narrows your depth of field, so focus carefully.
- Slow your shutter speed as a last resort, and only as far as you can hold steady or brace the camera.
A common mistake is treating ISO like a creative choice. It's a last resort after aperture and shutter speed.
ISO Sensitivity and Its Direct Effect on Image Noise
ISO sensitivity is the camera's amplification of its sensor signal, and higher amplification produces more visible image noise: luminance grain (brightness speckling) and chrominance noise (colored blotches), which worsens as light drops.
Sensor size matters here. A larger image sensor gathers more light at the same ISO, so a full-frame camera at ISO 3200 typically looks cleaner than a phone sensor at the same setting. That's physics, not marketing.
Aperture, Shutter Speed, and Exposure Balance
Aperture and shutter speed form the other two sides of your exposure triangle, and balancing them keeps ISO low. A wider aperture and a longer shutter speed both deliver more light.
The trade-offs are real: wider apertures shrink your depth of field, and slower shutter speeds invite motion blur. For handheld work, brace your elbows against your body and shoot in short bursts.
How to Reduce Image Noise in Lightroom
Lightroom's Detail panel is where most noise reduction happens, and the Luminance and Color sliders do the heavy lifting. But the sliders interact, and the order you move them in determines whether you get a clean file or a plastic one.
Work in this order for the cleanest result.
- Import your RAW file rather than a JPEG. A 14-bit RAW file holds roughly 16,000 tonal steps per channel, while an 8-bit JPEG holds 256. That extra headroom is what the noise reduction engine reads when it separates signal from speckle. On a JPEG, the noise is already baked in and compressed, so the engine is guessing.
- Open the Detail panel and raise Luminance noise reduction. This slider smooths brightness speckling. Push it until grain in flat areas like skies and shadowed walls disappears, then back off about 10 points. Over-applying it produces the waxy, detail-free look people blame on "Lightroom noise reduction."
- Add Color noise reduction to kill chrominance blotches. Color noise shows up as magenta and green mottling in shadows. The default value of 25 handles most files; raise it to 40-50 on high-ISO shots. Unlike Luminance, it rarely damages real detail, so you can be more aggressive here.
- Recover lost texture with the Detail and Contrast sliders. Detail controls how much high-frequency texture survives the Luminance pass; Contrast controls low-frequency contrast. If skin looks like plastic after step 2, raise Detail first, then Contrast.
- Apply Sharpening last, and sparingly. Sharpening amplifies whatever edges exist, including noise edges. If you sharpen before reducing noise, you're sharpening the grain itself, and later reduction can't fully undo it. Use the Masking slider under Sharpening to confine sharpening to real edges.
- Use a mask so noise reduction only touches flat areas. Hold Alt (Option on Mac) while dragging the Masking slider to see the mask as a black-and-white overlay. White areas get sharpened, black areas do not. Drag until only your subject's eyes, hair, and hard edges are white. This is the step most tutorials skip, and it's the difference between a clean portrait and a smeared one.
If you're preparing a file for a laser-engraved keepsake, export a high-quality JPEG or TIFF at maximum dimensions. Do not export at a reduced size "to save space", the engraving process reads every pixel you give it.
Finding the Best AI Photo Enhancer for Printing
The best AI photo enhancer for printing upscales resolution without inventing detail your original never had. Print resolution requirements are unforgiving: a file that looks fine on screen at 100% can fall apart at 300 DPI on paper.
Here's how to judge an AI enhancer before you trust it with a keepsake:
| What to Check | Why It Matters | What Good Looks Like |
|---|---|---|
| Edge integrity | AI can smear or hallucinate edges | Clean lines, no melted features |
| Texture retention | Over-smoothing looks plastic | Skin and fabric keep natural texture |
| Artifact control | Upscaling can add halos | No glowing outlines or banding |
| Output size | Print needs real pixels | Meets your target print dimensions |
| Batch support | Large photo sets need speed | Handles multiple files at once |
Run any enhancer on a test file first, then zoom to 200% and check the eyes, hair, and text. Those three areas expose AI artifacts faster than anything else.
AI Upscaling vs. Traditional Noise Reduction: What Works Better
AI upscaling and traditional noise reduction solve different problems, and using one when you need the other is the most common mistake in this workflow. Traditional noise reduction smooths existing pixels; AI upscaling adds new pixels through interpolation and learned patterns.
Use traditional noise reduction when your file is the right size but looks speckled. Use AI upscaling when your file is too small for its destination. Use both, in that order, when a file is small and noisy.
Order your personalized laser-engraved gift today →
The risk with AI upscaling is that it can generate plausible-looking detail that isn't real. For a casual social post, that's harmless. For an heirloom engraving or printed portrait, invented detail is a defect.
This is where experience matters. At Crystal Prints, we've spent 22 years editing and enhancing customer photos before they're engraved into optical crystal. A grainy 1980s family photo gets careful, honest restoration.
Preparing Photos for 3D Laser Engraving
Preparing photos for 3D laser engraving demands more than a clean screen preview, because the engraving process renders your image as thousands of tiny subsurface points inside the crystal. Contrast and edge definition matter far more than color.
Follow this checklist before you submit any photo:
- Use the highest-resolution original you can find, not a screenshot or a social media copy
- Convert to grayscale to preview how the engraving will read
- Boost contrast so the subject separates from the background
- Remove distracting backgrounds or busy patterns
- Check the eyes and face at 200% zoom for artifacts
- Confirm the file is sharp, since engraving amplifies softness
A common mistake is sending a heavily filtered or over-smoothed photo. Filters destroy the tonal transitions the engraving process relies on, and the result looks flat and lifeless in the crystal.
Mobile Workflows and Batch Processing for Large Photo Sets
Most guides assume you're shooting on a DSLR or mirrorless body and editing one file at a time. That leaves out two groups: people shooting on phones, and anyone processing more than a handful of images.
Mobile photography: where phone grain actually comes from
Phone sensors are small, and small sensors gather less light, so phones lean on computational processing to compensate. That's why phone photos often look clean at a glance but fall apart when you zoom or print.
Three habits protect resolution on a phone:
- Shoot in RAW or ProRAW if your device supports it. On iPhone, ProRAW is available on Pro and Pro Max models and captures significantly more tonal data than HEIC. On Android, look for RAW capture in the camera's Pro mode or in a third-party app. RAW files are larger, but they give noise reduction something real to work with.
- Never use digital zoom. Optical zoom moves glass; digital zoom crops and interpolates. A 2x digital zoom on a 12-megapixel sensor leaves you with roughly 3 megapixels of real data. Walk closer instead.
- Never edit a screenshot of a photo. Screenshots are compressed, resized, and stripped of metadata. If the original exists, use it. If it doesn't, treat the screenshot as a last resort and expect visible softness.
For app-level cleanup, the built-in editors in iOS Photos and Google Photos handle mild luminance noise acceptably. For anything headed to print or engraving, move the file to a desktop editor where you can mask noise reduction and control sharpening order.
Batch processing: efficiency without flattening quality
Batch processing is where professionals save hours, and where amateurs quietly ruin a whole shoot. A single preset can't know that one frame was shot at ISO 3200 and the next at ISO 200, so one noise-reduction value over-smooths clean frames and under-corrects noisy ones.
The workable pattern is a two-pass batch:
- Build a base preset that handles color noise reduction, lens correction, and a conservative luminance value, low enough that it does not damage your cleanest frame in the set.
- Apply it across the batch using Lightroom's Sync or Develop Presets, or Capture One's Styles.
- Sort by ISO and re-apply a stronger luminance value only to the high-ISO outliers. In Lightroom, the Metadata filter lets you isolate files above a chosen ISO in seconds.
- Spot-check at 100% on the noisiest file, the cleanest file, and any file with a face. Those three catch almost every batch error.
For corporate orders, consistency is the whole point. If you're commissioning a set of engraved awards, send photos shot under similar lighting so the finished pieces match. Adobe's guide to RAW file workflows explains why RAW gives you more recovery room than JPEG when you're correcting exposure across a group of images.
Conclusion
Grain and resolution look like the same problem, but they demand different fixes: control noise at capture, then add real resolution only when the file needs it. Get that order right and even a decades-old family photo can become something worth keeping.
That's the work Crystal Prints has done for 22 years. We edit and enhance every photo before it's engraved into optical crystal, using our proprietary subsurface laser engraving process and state-of-the-art technology to turn grainy originals into lasting keepsakes. Every piece is made in the USA, arrives in a velvet-lined gift box, and ships free.
Order your personalized laser-engraved gift today and let us handle the restoration work.
Frequently Asked Questions
Can AI tools effectively improve photo resolution?
Yes. Modern AI upscaling tools can increase grainy photo resolution by analyzing patterns and rebuilding detail that traditional interpolation misses. They work especially well on faces and textures common in family portraits. For print projects, AI tools can push a low-resolution file from 72 DPI to 300 DPI, which is the standard for sharp prints. Results vary by source quality, so starting with the highest-resolution scan or original file gives the best outcome.
How do I prepare a photo for 3D crystal engraving?
Start with the highest-resolution version you have, ideally a RAW file or a 300 DPI scan. Crop tightly around the subject and remove distracting backgrounds. Convert to grayscale if the engraving will be monochrome. Run noise reduction to smooth grain without losing facial detail. A clean, well-lit source photo produces a sharper engraving. Avoid heavily filtered social media images, which carry compression artifacts.
What is the difference between image noise and pixelation?
Image noise appears as random speckles or grain across a photo, usually caused by high ISO sensitivity or a small image sensor in low light. Pixelation happens when a photo is enlarged beyond its native resolution, making individual square pixels visible. Noise reduction smooths grain, while upscaling addresses pixelation. Many grainy photos have both problems, so a workflow that combines noise reduction with AI upscaling produces the best result.
What settings should I use to avoid grainy photos in the future?
Keep ISO as low as your lighting allows, ideally 100 to 400 for indoor shots with good light. Use a wider aperture (lower f-number) to let in more light, and stabilize the camera with a tripod so you can use a slower shutter speed without blur. Shoot in RAW format to preserve detail for post-processing. If you must raise ISO above 3200, plan to run noise reduction in Lightroom or an AI editor afterward.