

How to Preserve Old Family Photos: Complete Guide
Sep 17th 2026
Table of Contents
- Assess Your Collection and Plan Your Preservation Strategy
- How to Digitize Old Family Photos for Long-Term Access
- Best Archival Storage Supplies for Photos
- Create the Right Storage Environment for Physical Photos
- Proper Handling and Cleaning Techniques
- Avoid Common Preservation Mistakes
- Turn Your Preserved Photos Into 3D Laser Engraved Crystal Photo Keepsakes
- Backup Your Digital Files and Plan for Disaster Recovery
- Frequently Asked Questions
Last Updated: September 18, 2026
Assess Your Collection and Plan Your Preservation Strategy
Before you start to preserve old family photos, take time to understand what you're working with. Pull out your collection and sort by condition, format, and era. Are you dealing with color prints, black-and-white negatives, slides, or a mix? This assessment determines your next steps and helps you prioritize which photos need immediate attention.
Start by identifying your most fragile items. Faded prints, photos with visible mold or water damage, and those stored in poor conditions should move to the front of your preservation queue. Create a simple inventory: note the approximate date, subject matter, and current condition of key photos. This doesn't need to be elaborate, even a spreadsheet with basic details helps you stay organized.
Consider your long-term goal. Are you preserving these photos primarily for family access, or are you creating heirloom keepsakes? Your answer shapes whether you prioritize digitization, physical storage improvements, or both. Many families benefit from doing both simultaneously: digitizing for accessibility while maintaining the originals in archival-quality storage for future generations.
How to Digitize Old Family Photos for Long-Term Access
Digitization is one of the most effective ways to preserve old family photos against loss, damage, or deterioration. A high-quality digital copy ensures your memories remain accessible even if the physical original degrades over time. The goal is creating files that will remain readable and viewable for decades.
Choosing the Right Scanning Equipment and DPI Resolution
Your scanning equipment determines the quality of your digital files. For most family photos, a flatbed scanner with at least 2400 DPI resolution captures enough detail to preserve image information and allow for enlargement without significant quality loss. DPI (dots per inch) measures scanning resolution, higher DPI means more detail captured, but also larger file sizes.
For standard 4x6 prints, 2400 DPI is sufficient. For smaller prints, older photos, or images you plan to enlarge significantly, consider 4800 DPI. Professional scanning services often use even higher resolutions, but the improvement in quality diminishes beyond 4800 DPI for most family photos. The real bottleneck isn't resolution, it's how well you handle the original during scanning.
If you're digitizing a large collection, you have two realistic paths: invest in a quality scanner and do it yourself, or use a professional scanning service. DIY scanning lets you control the process, work at your own pace, and avoid shipping originals. Professional services handle fragile items more carefully and often include image enhancement, but cost more and require entrusting your originals to someone else temporarily.
Organizing and Labeling Your Digital Files
Once scanned, your digital files need clear naming and metadata to remain useful. Create a folder structure organized by year, decade, or event, whatever makes sense for your collection. Name files descriptively: "1985_Smith_Family_Reunion_Photo3.tif" tells you far more than "IMG_0001.jpg."
Metadata is critical for long-term preservation. Most scanning software allows you to embed information directly into image files: photographer, date, location, subject names, and any relevant context. This metadata travels with the file, ensuring future viewers understand what they're looking at. Without it, even well-scanned photos become orphaned images without context.
Use standard file formats for archival storage. TIFF files preserve image quality without compression and are more stable for long-term storage than JPEG. Save your master scans as TIFF, then create JPEG copies for sharing and everyday viewing. TIFF files are larger but worth the space, they won't degrade if you open and close them repeatedly over decades.
Best Archival Storage Supplies for Photos
The materials you use to store physical photos directly determine how long they survive. Acid and lignin are the enemies of photographs; they break down paper and photo emulsion over time, causing yellowing, brittleness, and fading. Archival-quality storage means using materials specifically formulated to prevent this chemical deterioration.
Acid-Free and Lignin-Free Materials
Archival boxes, sleeves, and storage containers must be acid-free and lignin-free. These materials don't contain the compounds that degrade photographs. When shopping for storage supplies, look for products explicitly labeled as archival-quality or museum-grade. Standard cardboard boxes and plastic sleeves often contain acid and lignin, they're cheap but will damage your photos over time.
Acid-free boxes come in various sizes to fit different photo dimensions. Store photos flat in boxes rather than standing upright, which creates pressure on the images. Interleave photos with acid-free tissue paper to prevent them from sticking together, especially in humid conditions. The small investment in proper materials now prevents irreversible damage later.
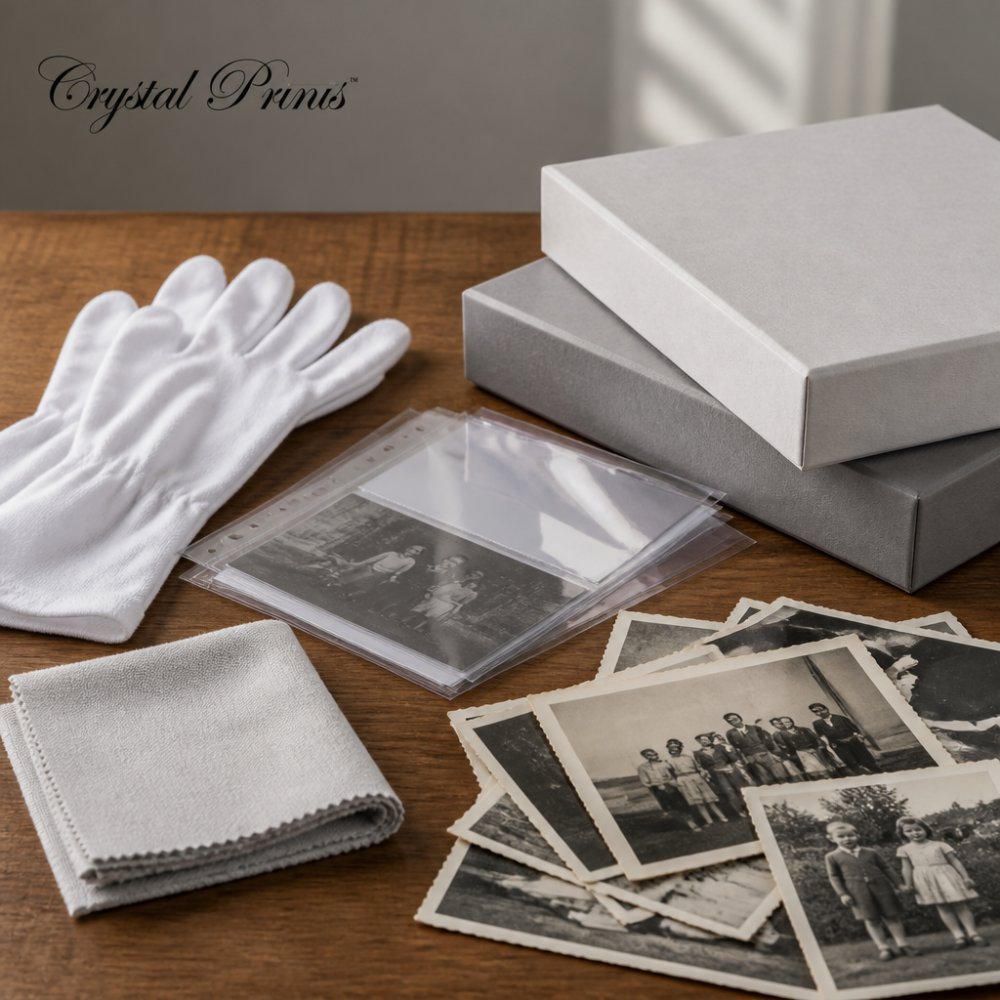
Protective Sleeves and Handling Essentials
Polyester sleeves protect individual photos while allowing you to view them without touching the surface. Polyester is chemically stable and won't react with photo emulsion or paper. Avoid PVC-based sleeves, which release chlorine gas that damages photographs. Always wear cotton gloves when handling originals, skin oils and moisture accelerate deterioration.
A microfiber cloth removes dust gently without scratching. Never use paper towels or regular cloth, which can leave fibers or cause micro-scratches on photo surfaces. For stubborn dust, use a soft brush designed for photographs. These simple tools cost little but prevent the accidental damage that happens during handling.
Order your personalized laser-engraved gift today →
Create the Right Storage Environment for Physical Photos
Where you store your photos matters as much as what you store them in. Environmental conditions, temperature, humidity, and light exposure, directly affect how quickly photographs age. Stable conditions slow deterioration dramatically.
Temperature and Humidity Control
Photographs survive longest in cool, dry environments. Aim for temperatures between 60-70°F with relative humidity between 30-40 percent. Basements and attics are poor choices: basements flood and stay damp, while attics experience extreme temperature swings. Closets in climate-controlled rooms, interior shelves away from exterior walls, and dedicated archival storage cabinets work well.
Fluctuating humidity is particularly damaging. Moisture causes mold growth and photo emulsion to separate from paper. Dry conditions cause brittleness and cracking. Consistency matters more than perfection, steady 35% humidity is better than swinging between 20% and 60%. Use a simple humidity monitor to track your storage area. If humidity creeps above 50%, add silica gel packets to your storage boxes to absorb excess moisture.
Protection From Light Exposure and UV Damage
Light, especially ultraviolet light, fades photographs. Store originals in darkness or very dim light. Never display original photos in direct sunlight or under standard fluorescent lights, which emit UV radiation. If you want to display family photos, use the digital copies or high-quality prints made from them, not the originals.
When you must access originals, minimize light exposure. Work in natural daylight rather than under bright lamps. UV-filtering glass protects photos if you do frame originals, though archivists generally recommend keeping originals in storage and displaying copies instead.
Proper Handling and Cleaning Techniques
How you handle photographs during viewing and cleaning directly impacts their lifespan. Develop careful habits now to prevent damage that compounds over time.
Always wash your hands before handling original photos. Skin oils transfer to the surface, creating spots that attract dirt and moisture. Cotton gloves provide a barrier between skin and photo. Support prints from underneath, never hold them by edges where pressure can cause creasing. For large or fragile prints, use both hands and support the full surface.
Cleaning should be minimal and gentle. Dust photos with a soft brush or microfiber cloth, moving in one direction. Never rub or scrub.
Avoid Common Preservation Mistakes
The biggest mistake people make is storing photos in basements or attics without climate control. These environments experience temperature and humidity swings that accelerate deterioration. Moisture in basements causes mold and emulsion separation. Heat in attics causes fading and brittleness. Choose stable, interior storage locations instead.
Turn Your Preserved Photos Into 3D Laser Engraved Crystal Photo Keepsakes
Once you've preserved and digitized your family photos, consider transforming your most meaningful images into lasting keepsakes. At Crystal Prints, we specialize in converting your cherished photographs into stunning 3D laser-engraved crystal keepsakes.
Backup Your Digital Files and Plan for Disaster Recovery
Your digitized photos are only as safe as your backup strategy. Digital files can be lost to hard drive failure, accidental deletion, or device damage. Create multiple backup copies stored in different locations.
Frequently Asked Questions
What's the best way to digitize old family photos at home?
Use a flatbed scanner set to at least 300 DPI for standard prints and 600+ DPI for small or fragile negatives. Save files in high-quality formats like TIFF for archival purposes, then create JPEG copies for sharing. Scan in color even if the original is black and white, you'll retain more detail. Clean the scanner glass and photo surface with a microfiber cloth before each scan to avoid dust in the image. If your photos are valuable or heavily damaged, professional scanning services may deliver better results.
How should I store digitized photos to ensure they last?
Store digital files on multiple devices: an external hard drive, cloud storage, and ideally a second external drive kept in a separate location for disaster recovery. Use descriptive file naming and metadata tagging to preserve provenance and make files searchable. Save master copies in TIFF format and working copies in JPEG. Check cloud storage providers' longevity claims, some offer better long-term stability than others. Avoid storing only on a single device or relying solely on cloud storage without local backups.
Can old, low-resolution photos be restored well enough to preserve?
Yes, but with realistic expectations. Old prints can be scanned at high DPI to capture all available detail, and professional image editing can reduce grain, improve contrast, and correct color shifts from age. However, no restoration can add detail that was never in the original. For severely damaged or low-resolution originals, consider having them professionally scanned and edited before archiving. Many photo restoration services specialize in heritage artifacts and can work with fragile or faded prints without causing further damage.
What materials should I avoid when storing old family photos?
Avoid PVC plastic sleeves, rubber bands, paper clips, and adhesive tape, these degrade photos over time. Skip cardboard boxes without acid-free certification, as regular cardboard contains lignin and acid that cause yellowing and brittleness. Don't store photos in attics, basements, or garages where temperature and humidity fluctuate wildly. Avoid direct sunlight and fluorescent lighting, which cause photographic emulsion to fade. Never use regular glue, markers, or ballpoint pens for labeling, use archival-quality ink and acid-free labels instead.