

How to Improve Grainy Photo Quality for Engraving
Sep 9th 2026
Table of Contents
- Why Grainy Photos Fail in Laser Engraving
- Step 1: Start With the Best Image Resolution for Laser Engraving
- Step 2: Use AI Photo Enhancers for Laser Engraving
- Step 3: Apply Laser Engraving Image Contrast Tips
- Step 4: Convert to Grayscale and Fine-Tune Dithering
- Step 5: Upscale With Interpolation, Not Pixelation
- Common Mistakes That Ruin Engraving Quality
- Final Checks Before You Send Your Photo
- Frequently Asked Questions
Last Updated: September 7, 2026
Why Grainy Photos Fail in Laser Engraving
Grainy photo quality is the single biggest reason a laser engraving looks like a muddy shadow instead of a crisp portrait. When you send a low-resolution image to a laser, the machine reads every pixel as a dot of energy. Grainy or noisy images contain scattered, inconsistent pixels that translate into uneven burns, blotchy dark areas, and lost facial details.
The core issue is that laser engraving is a threshold process. Unlike a printer that blends ink, a laser either fires or it does not. This means your image needs clean, high-contrast data to work with. At Crystal Prints, we have spent 22 years refining how to improve grainy photo quality for engraving, and the process starts long before the laser fires. The good news is that most grainy photos can be rescued with the right pre-processing workflow.
Below, we will walk through five concrete steps to transform a poor source image into engraving-ready file. These methods have rescued everything from 1980s family snapshots to faded corporate logos.
Step 1: Start With the Best Image Resolution for Laser Engraving
The best image resolution for laser engraving depends on the laser's beam diameter, but a safe baseline is 300 DPI at the final engraved size (epiloglaser.com). DPI, or dots per inch, tells the laser how many individual burn points exist in each inch of material. If your image is smaller than the engraving area, the laser must stretch those pixels, causing pixelation.
Check your source file's native resolution before doing anything else. Right-click the image file, select Properties, and look at the Dimensions tab. Multiply the pixel width by the pixel height; that is your total data. For a 4-inch by 4-inch engraving at 300 DPI, you need a minimum of 1200 by 1200 pixels.
Step 2: Use AI Photo Enhancers for Laser Engraving
AI photo enhancers for laser engraving have changed what is possible with old, damaged images. These tools use machine learning models trained on millions of faces and scenes to reconstruct missing detail and reduce noise. They do not just stretch the image; they predict what the original detail likely looked like.
For a grainy photo from the 1980s, run it through a dedicated AI upscaler before you touch contrast or brightness. Many of these tools offer a "face restoration" mode that rebuilds eye and mouth definition. A quality enhancer will also smooth the grain pattern without blurring edges, which is critical because lasers need defined edges to create depth.
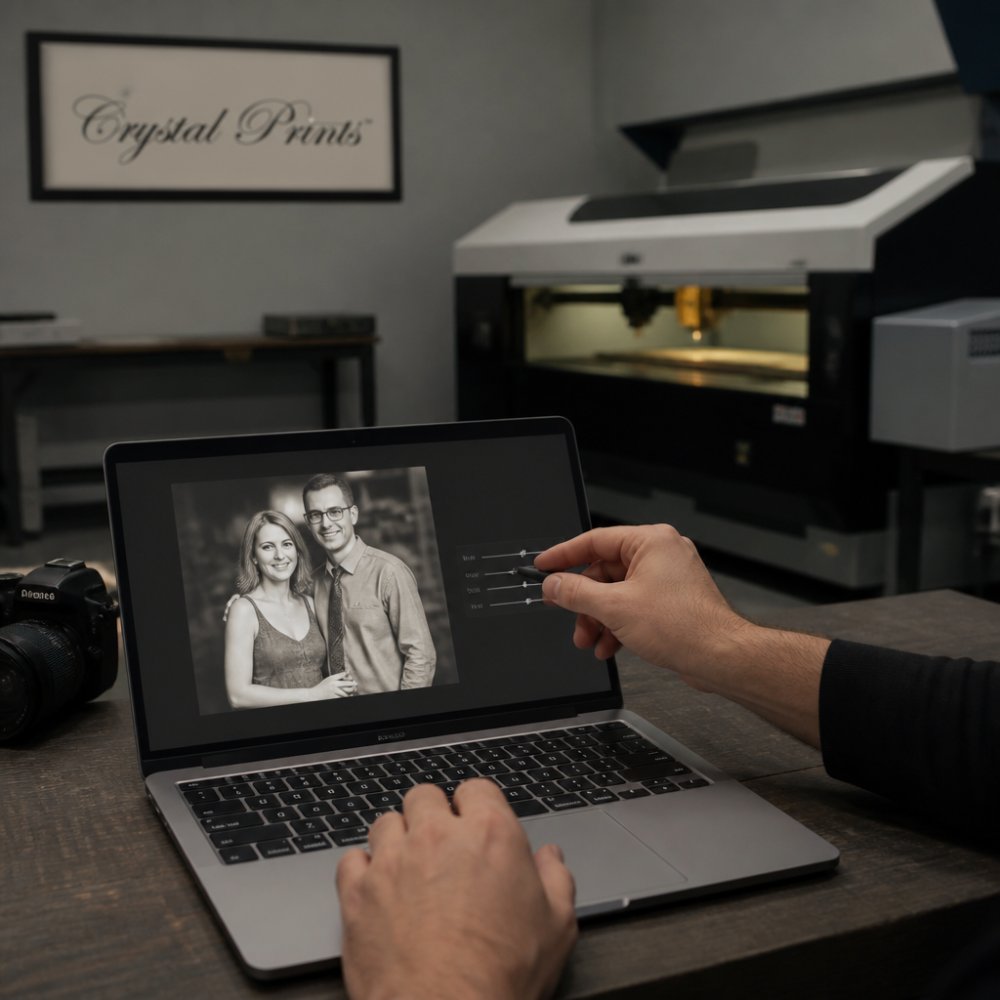
After AI enhancement, inspect the result at 100 percent zoom. If the skin looks waxy or plastic, the tool over-smoothed it. Dial back the strength and re-run it. The goal is a clean image with natural texture, not an airbrushed portrait.
Step 3: Apply Laser Engraving Image Contrast Tips
Laser engraving image contrast tips all revolve around one rule: the laser only understands black and white. Mid-tones and shadows without clear separation will engrave as a flat gray mess. You need to push the image toward pure blacks and pure whites so the laser has clear instructions on where to burn and where to stay idle.
Open your image in editing software and locate the Levels or Curves tool. Drag the black point slider to the right until it touches the histogram's left edge. Then drag the white point slider left to the right edge. This stretches the tonal range and instantly adds snap to a flat photo.
Step 4: Convert to Grayscale and Fine-Tune Dithering
Once contrast is set, convert the image to true grayscale. This removes color information that the laser cannot interpret. Then you must decide between two processing paths: dithering or halftoning. This choice is not cosmetic; it determines how the laser's binary on/off behavior simulates the illusion of gray tones on your material.
Dithering: Error Diffusion vs. Ordered
Dithering works by scattering individual black and white pixels in a pattern that the human eye averages into a gray value. The two main families are error diffusion and ordered dithering.
Error diffusion algorithms, such as Floyd-Steinberg, Jarvis-Judice-Ninke, and Atkinson, work by calculating the error between the original pixel's gray value and the binary output (black or white), then distributing that error to neighboring pixels that have not yet been processed. Floyd-Steinberg distributes error to only four neighbors, which makes it fast and preserves fine detail but can create characteristic diagonal "worms" or streaks in smooth areas. Jarvis-Judice-Ninke spreads error across twelve neighbors with a larger kernel, producing a finer, more film-like grain but requiring roughly three times the processing time. Atkinson dithering, popularized by the Atari ST, discards a portion of the error rather than propagating it fully, which produces a high-contrast, punchy look that can work well for bold portraits on wood but tends to lose subtle mid-tone transitions.
Ordered dithering, including Bayer matrix patterns, applies a fixed threshold matrix to each pixel block. It is deterministic and fast, but it produces a repeating, grid-like pattern that can clash with organic subjects like faces. For photographic engraving, error diffusion is almost always the better choice.
Halftoning: Dot Geometry and Screen Angle
Halftoning simulates gray tones using a grid of dots whose size varies proportionally to the image's darkness. The critical parameters are:
- Lines per inch (LPI): The frequency of the dot grid. For laser engraving on wood, 20-30 LPI is a safe starting point; for acrylic or anodized aluminum, you can push to 40-50 LPI because the material holds finer detail. Going above 60 LPI on porous wood will cause dots to merge into a muddy blob.
- Dot shape: Round dots are standard, but elliptical dots transition more smoothly through mid-tones, reducing the sudden "jump" that round dots exhibit around 50% gray.
- Screen angle: A 45-degree angle is traditional for single-color printing because it minimizes visible row patterns. Some engraving software defaults to 0 degrees, which creates a noticeable crosshatch artifact. Manually set the angle to 45 degrees if your software allows it.
Material-Specific Dithering Presets
Grainy photos react differently across materials, and a single dithering setting will not serve all substrates well. Here is a practical workflow based on common material behavior:
- Wood (maple, birch, cherry): Wood is porous and absorbs heat unevenly. Use Floyd-Steinberg dithering at 300 DPI with a 25 LPI halftone if you prefer dots. The error diffusion pattern fills the wood grain naturally, preventing the "white speckle" effect that ordered dithering often leaves in lighter woods.
- Acrylic (cast, not extruded): Cast acrylic vaporizes cleanly, so you can use Jarvis dithering to preserve the finest detail. The material's smooth surface means you do not need dithering to hide grain; instead, use it to maintain smooth gradients. A 45 LPI halftone with elliptical dots produces a glass-like tonal transition.
- Anodized aluminum: This material requires higher power for dark areas, so dithering patterns that concentrate black pixels (like Atkinson) can cause localized overheating. Use Floyd-Steinberg with a 35 LPI halftone and reduce global power by 10% to compensate for the denser burn pattern.
- Leather: Leather is highly variable in texture. A coarse ordered dither (Bayer 4x4) often works better than error diffusion because it produces a consistent, predictable pattern that does not get lost in the leather's natural grain.
Testing Dithering Before You Commit
Do not guess which algorithm works. Create a test tile with your target image divided into four quadrants, each processed with a different dithering method (Floyd-Steinberg, Jarvis, Atkinson, and a 30 LPI halftone). Engrave this tile on scrap material at your intended power and speed settings. Examine the result under direct light, not just at eye level, but at a grazing angle to see how the pattern reflects light. Choose the quadrant that preserves the most facial detail in the shadows without introducing visible texture artifacts.
Most engraving software, including LightBurn and LaserGRBL, includes built-in dithering modes. LightBurn's "Halftone" dialog gives you direct control over LPI, dot shape, and angle; LaserGRBL offers Floyd-Steinberg and Jarvis presets but does not expose the underlying parameters. If you need finer control than your software provides, pre-process the image in a dedicated tool like ImageMagick (command line: -threshold with -ordered-dither or -diffuse operators) or GIMP's "Newsprint" filter for halftone generation, then import the processed bitmap into your engraving software.
Step 5: Upscale With Interpolation, Not Pixelation
If your image is still too small after AI enhancement, you must upscale it with interpolation. Interpolation is the mathematical process of guessing new pixels between existing ones. The method you choose determines whether the result looks smooth or jagged, and, critically, how the laser interprets edges on different materials.
Traditional Interpolation Methods: What the Math Actually Does
Avoid nearest-neighbor interpolation, which simply duplicates pixels and creates a blocky, pixelated look. The laser will faithfully reproduce every hard edge of those blocks, and on wood, those edges will trap heat and burn darker than the surrounding area, creating visible grid lines.
Order your personalized laser-engraved gift today →
Bicubic interpolation fits a cubic polynomial to the 4x4 pixel neighborhood around each new pixel. It produces smooth transitions but can introduce "ringing" artifacts, faint halos around high-contrast edges, when upscaling more than 150%. Bicubic sharper variants (available in Photoshop as "Bicubic Sharper") apply a mild edge-enhancement kernel during the interpolation pass, which can help preserve edge definition for engraving but risks amplifying noise if the source is grainy.
Lanczos interpolation uses a sinc function over a larger 8x8 neighborhood. It preserves high-frequency detail better than bicubic and produces fewer ringing artifacts at moderate upscale ratios (up to 200%). However, it is computationally heavier and can introduce subtle aliasing patterns in repeating textures like fabric or foliage.
For laser engraving, the practical difference between bicubic and Lanczos is small at up to 200% upscaling. Beyond 200%, both methods produce soft, mushy results because they are guessing detail that does not exist. This is where AI-based upscalers become the only viable option.
The AI Upscaling Workflow: Two-Pass Restoration
AI upscalers like Topaz Gigapixel AI, Waifu2x, and ESRGAN-based tools do not interpolate, they synthesize. They use convolutional neural networks trained on millions of image pairs to predict what high-resolution detail should look like given a low-resolution input. This is a fundamentally different process, and it requires a different workflow.
First pass, denoise before you upscale. Grainy photos contain noise that the AI model will interpret as detail and amplify. Run a dedicated noise reduction pass first (Topaz DeNoise AI, or the built-in denoiser in Lightroom) with strength set to preserve edges. The goal is to remove the random pixel scatter that constitutes grain while keeping the structured detail of eyes, hair, and fabric folds. If you skip this step, the AI upscaler will faithfully reconstruct the noise pattern into what looks like fine sand on the engraving.
Second pass, upscale in stages, not one jump. Upscaling a 300x300 pixel image directly to 1200x1200 pixels in a single pass forces the AI to invent an enormous amount of detail at once, which often produces waxy skin and unnatural geometry. Instead, upscale in two stages: first to 600x600, then to 1200x1200. Each pass gives the model a smaller gap to bridge, and the intermediate result preserves more of the original facial structure.
Material-Specific Resolution Limits
Upscaling beyond what your laser can physically resolve is wasted effort. The laser's spot size determines the maximum useful DPI. A typical 40W CO2 laser with a 2-inch lens produces a spot size of approximately 0.003 inches (about 0.08 mm), which corresponds to roughly 333 DPI of addressable resolution (fslaser.com). A diode laser with a 0.05 mm spot can resolve about 508 DPI. Upscaling beyond these values does not add detail, it just creates larger files that slow down your engraving software's processing.
For practical purposes:
- Wood: 300 DPI is the ceiling. Wood grain interrupts finer detail anyway, so upscaling beyond this adds no visible benefit.
- Acrylic: 400 DPI is achievable with a focused beam, but only if your material is perfectly flat and you have verified focus. Use a 45 LPI halftone at this resolution.
- Anodized aluminum: 500 DPI is possible with a diode laser, but the material's heat dissipation means you must reduce power by 15-20% compared to wood to prevent the dense dot pattern from over-burning.
A Practical Upscaling Decision Tree
Use this decision tree to determine which path to take:
- Source image is 50% or less of target size: Skip traditional interpolation entirely. Use AI upscaling in two stages, then apply a light unsharp mask (radius 0.5 pixels, amount 50%) to restore edge crispness.
- Source image is 50-80% of target size: Use Lanczos interpolation for the first upscale to 90% of target, then AI upscale the final 10% to clean up any residual softness.
- Source image is 80-100% of target size: Use bicubic interpolation directly. The quality difference versus AI is negligible at this ratio, and you avoid the risk of AI artifacts.
AI upscalers are not magic. They cannot recover detail that was never captured, a severely out-of-focus photo will remain soft, and a photo with heavy compression artifacts will still show blocky edges after upscaling. The AI model is predicting plausible detail, not recovering actual detail. Always inspect the result at 100% zoom on a calibrated monitor before sending it to the engraver.
Common Mistakes That Ruin Engraving Quality
Several predictable errors will undo your preparation work. Understanding these will save you material and time.
First, never engrave a JPEG that has been saved multiple times. Each save introduces compression artifacts, which appear as blocky noise around edges. Work from the original RAW, TIFF, or PNG file. Second, do not apply image sharpening before you resize. Sharpening adds halos around edges, and resizing afterward will amplify those halos into ugly rings.
Third, avoid cranking laser power to compensate for a dark image. Higher power does not fix poor contrast; it just burns deeper and creates charring. Adjust the image, not the machine. Finally, remember that the laser beam diameter, or spot size, limits the smallest detail you can engrave. If your image has fine lines thinner than the beam, they will simply not appear.
| Mistake | Why It Happens | Correct Approach |
|---|---|---|
| Engraving saved JPEGs | Compression artifacts create blocky noise | Use original RAW, TIFF, or PNG |
| Sharpening before resizing | Amplifies halos into visible rings | Resize first, sharpen last |
| Raising power for dark images | Causes charring, not detail | Fix contrast in the image file |
| Ignoring beam diameter | Fine lines vanish at laser spot size | Verify line width exceeds beam width |
Final Checks Before You Send Your Photo
Before you upload your file, run through this checklist. First, confirm the resolution meets the 300 DPI baseline at your final engraving size. Second, verify the image is true grayscale with no hidden color channels. Third, zoom to 200 percent and inspect the edges. If you see jagged steps or blocky pixelation, the image is not ready.
Fourth, review the histogram one last time. It should span the full tonal range. Fifth, test engrave a small, low-power sample on scrap material of the same type. This shows you exactly how the laser interprets your file before you commit to the final piece.
At Crystal Prints, our expert image editing team handles this entire process for you. We have refined how to improve grainy photo quality for engraving over two decades, and our proprietary engraving process ensures your cherished memories are captured with high-fidelity detail. When you upload a photo to our site, our specialists prepare it using the same professional techniques described here, so you do not need expensive software or hours of practice. Order your personalized laser-engraved gift today and trust your most precious images to a team that has been perfecting this craft since 2004.
Frequently Asked Questions
Why do my photos look gritty or pixelated when engraved?
Grainy photo quality for engraving usually stems from a low native resolution or excessive compression in the original file. When the laser maps those pixels onto the crystal, it reproduces the noise and artifacts as speckled marks. Increasing the DPI to 300 or higher, cleaning up the image with an AI enhancer, and boosting contrast before sending it will resolve most gritty results.
What resolution is required for professional laser engraving?
The best image resolution for laser engraving is at least 300 DPI at the final engraved size. For smaller keepsakes, 600 DPI provides even cleaner transitions between tones. If your source photo is only 72 DPI, do not simply resize it. Use an AI upscaler to add genuine detail and avoid the soft, pixelated look that comes from basic interpolation.
Is there a way to enhance a grainy photo for laser engraving?
Yes. Start by scanning the original at a high resolution, then run it through an AI photo enhancer designed for laser engraving to remove noise and sharpen edges. After that, convert the image to grayscale and raise the contrast so the dark and light areas separate clearly. This pre-processing gives the laser a clean map to work from.
Can a very old, low-resolution photo ever produce a good engraving?
Often it can. Modern AI photo enhancers rebuild missing facial details and smooth out heavy film grain without creating a plastic look. The key is to manage expectations: we can improve grainy photo quality for engraving dramatically, but the final result depends on how much original detail exists. Send us your file and our image editing team will assess what is possible.